In this article, I’ll help you better understand Git and show how to install it on your Mac, along with a few tricks to get you started. For this, you’re obviously going to need a machine that runs macOS and access to the Terminal or command line. Let’s get learning!
What is Git?
Like I mentioned above, Git is a version control system. It lets coders and developers collaborate on a project more efficiently while also allowing them to work independently without interfering in each other’s code. Git helps coders to monitor any changes in a codebase, collaborate with ease, and prevent code-clashing. It also tracks the project’s development, allowing users to see how it evolved. It is super helpful for community projects. You can install Git on your system and communicate through it. Let’s see how!
3 Best ways to install Git on your Mac
There are plenty of methods to go about this. If you’ve got Xcode installed on your Mac, you should already have a version of Git on your system. However, this version of Git may not be the latest. If you’re wondering how to install Git on Mac without Xcode or how to install Git manually, we’ve got you covered. Note: To confirm Git’s installation, open Terminal, and type git –version after installing it using any of the methods below.
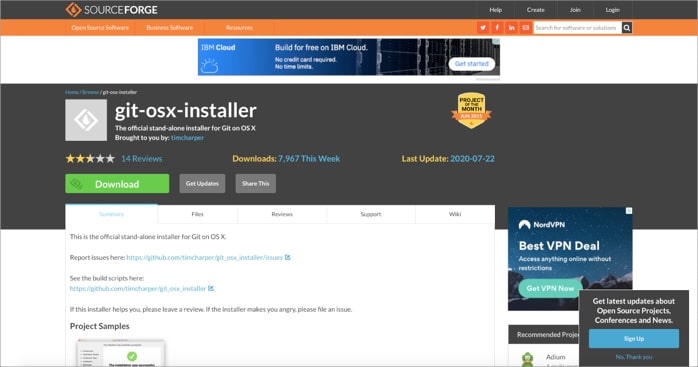
Installing Git on macOS with the stand-alone installer
Tim Harper developed an official stand-alone installer for Mac, available on SourceForge. It is the easiest way to get Git on macOS without getting into technicalities. Follow the steps below. That’s it! You have now successfully installed Git on your Mac. However, many users reported issues with this installer package, especially for macOS X Snow Leopard. If you, too, are facing issues, check the following method using brew.
How to install Git on Mac using Homebrew
Homebrew is a trusted software management system that simplifies installing useful third-party apps on macOS. If you have Homebrew installed on your Mac, follow the below steps. If you don’t, check our guide on how to install Homebrew. Note: You can also install Git on M1 Mac using Homebrew, but you should be aware that some packages are still not optimized for the ARM chipset.
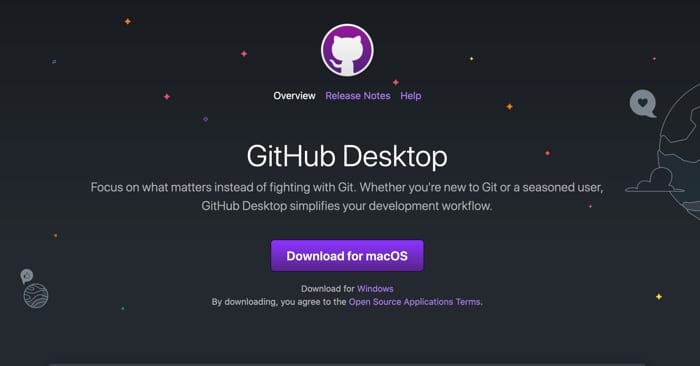
Install Git on macOS with GitHub Desktop
If you want to install Git on macOS without Homebrew, get it from the GitHub Desktop. This is another easy way. Simply download the tool for macOS by clicking the button from the GitHub Desktop website. Run the installer once the package is downloaded, and verify whether Git has been installed. That’s it! Many people also asked me, “How to run Git on Mac after installation?” Hence, below are some commands that will help you get Git up and running.
A few tricks to get you started on Git
Let’s take a look at some tricks to kickstart Git. Firstly, configure Git with your credentials to submit code and track your projects. Here’s how to do this.
Launch Terminal and type the following command to add your Github username:git config –global user.name “your_github_username”Next, add your email using this command:git config –global user.email “[email protected]”
There you go. You’re now set up to track and commit changes on Github. Here’s a list of basic commands that you must know to navigate Git. Now that you’ve learned how to install git on your Mac system, and know the basics of starting up, get started on coding, creating branches, managing projects, and more. If you have any questions, feel free to share them in the comments below. You would like to read these posts as well:
How to right-click on a MacWhat is Roblox? Everything you should knowBest FTP clients for Mac